
Superpowers
Introduction to Varminting at Night
feature By: Jeremiah Polacek | October, 23
 copy.jpg)
There is no doubt that hog hunting in Texas has played a major factor in the use of thermal and night-vision products for hunting. However, not all states have the same laws and for this reason, everyone should check and double-check what their state allows for hunting purposes. This brings us to the first setup that is used regularly in my home state of Arizona. Due to the fact that the use of thermal, night vision and even illuminated reticles in riflescopes are prohibited for the use of taking wildlife. Sadly, it seems that the folks making these rules have rather limited experience when it comes to hunting at night and even less experience with the gear used. However, this does bring us to the first setup for hunting at night.
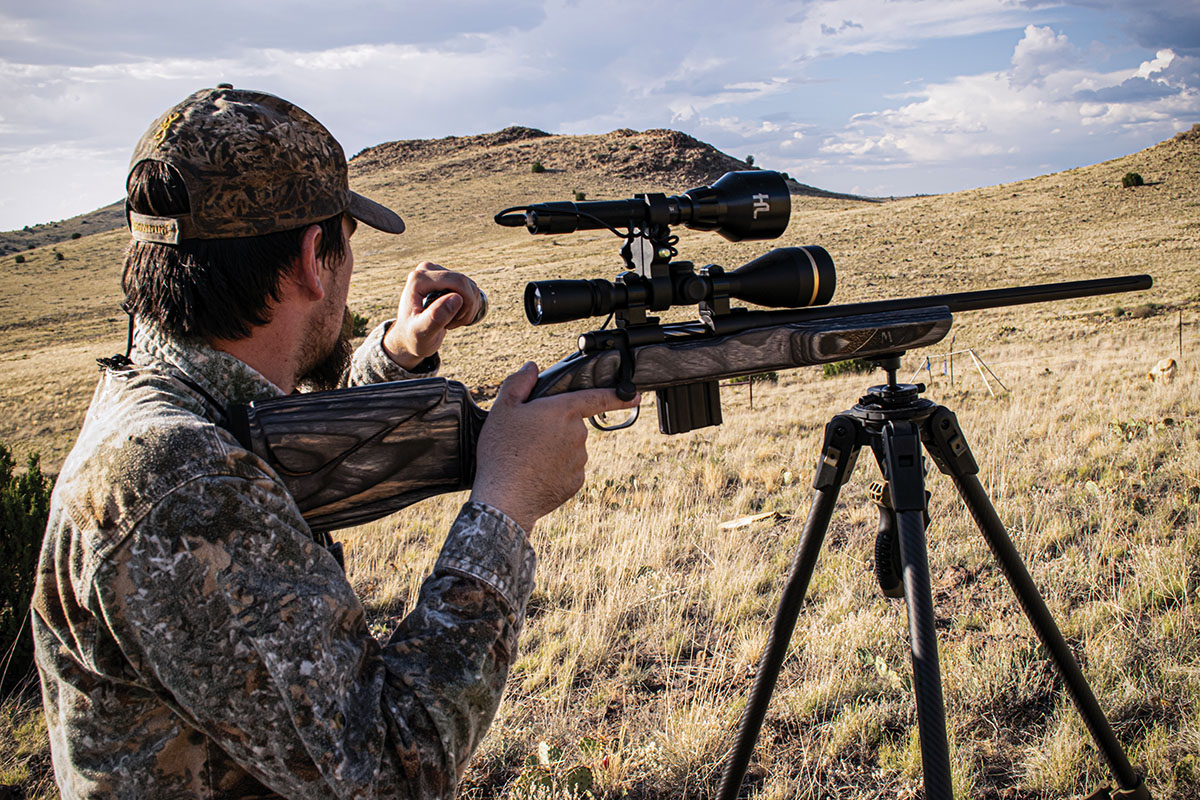
Budget Setup
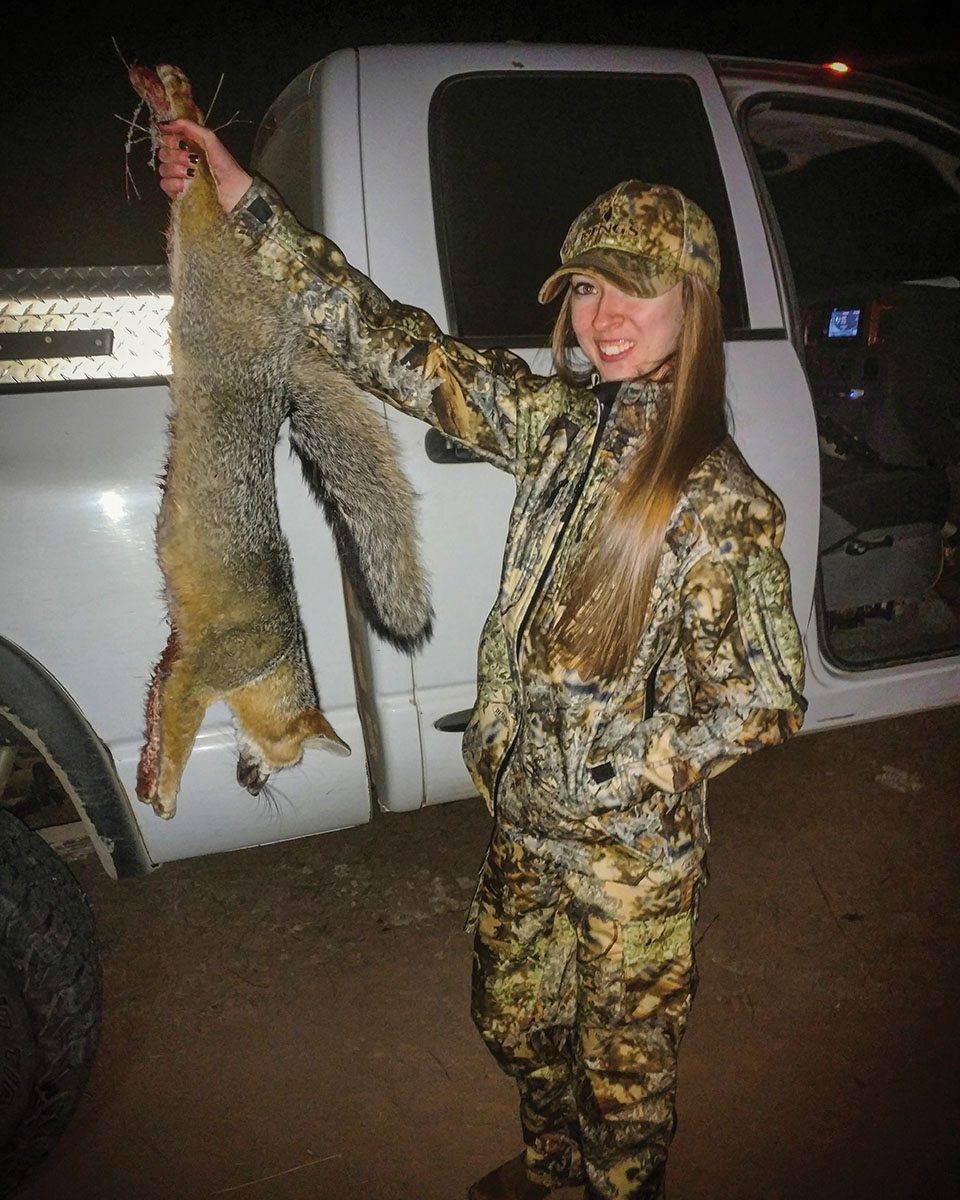
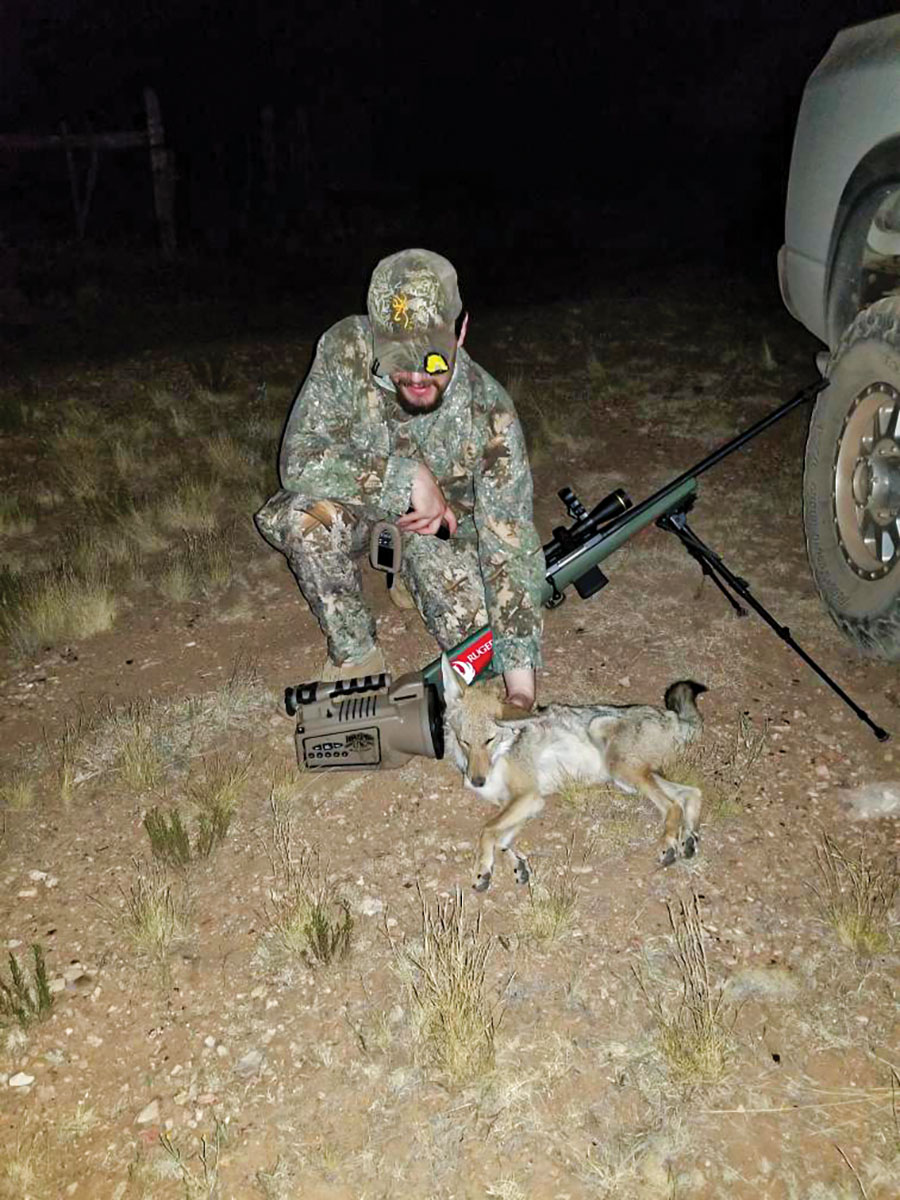
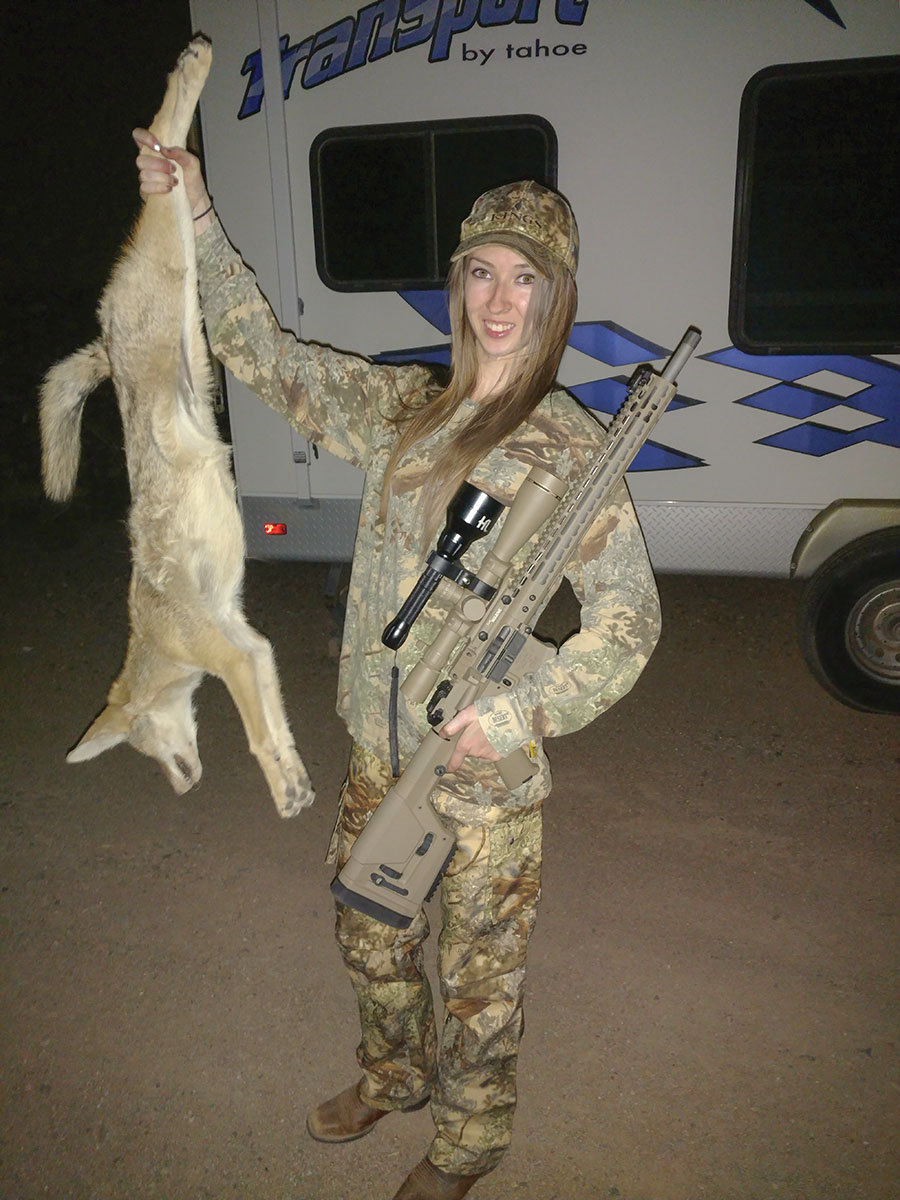
When it comes to hunting with this setup, coyotes have been the most common predator hunted. The tactics vary but typically start by locating a good area that shows promise, as coyotes are much more vocal at night, especially in my neck of the woods. I will walk to a stand under a dim red light, a practical purpose for those cheap Amazon lights. Once set up, I’ll let the area settle for about 3-5 minutes before the first thought of starting up a calling session. Sitting in the darkness certainly offers an interesting aspect to the hunt and I am instantly reminded of the benefits of thermal and night vision for hunting use. My senses are heightened and I seem to enter an almost hyper-aware state, even my deaf ears seem to pick up every noise. This adds a fun and rather interesting dynamic to the hunt, it can be quite a thrill. Once the area is settled, I will begin a short calling session lasting about 15-35 minutes depending on the situation. While calling, I will scan every so often with the red light switching it on and off.
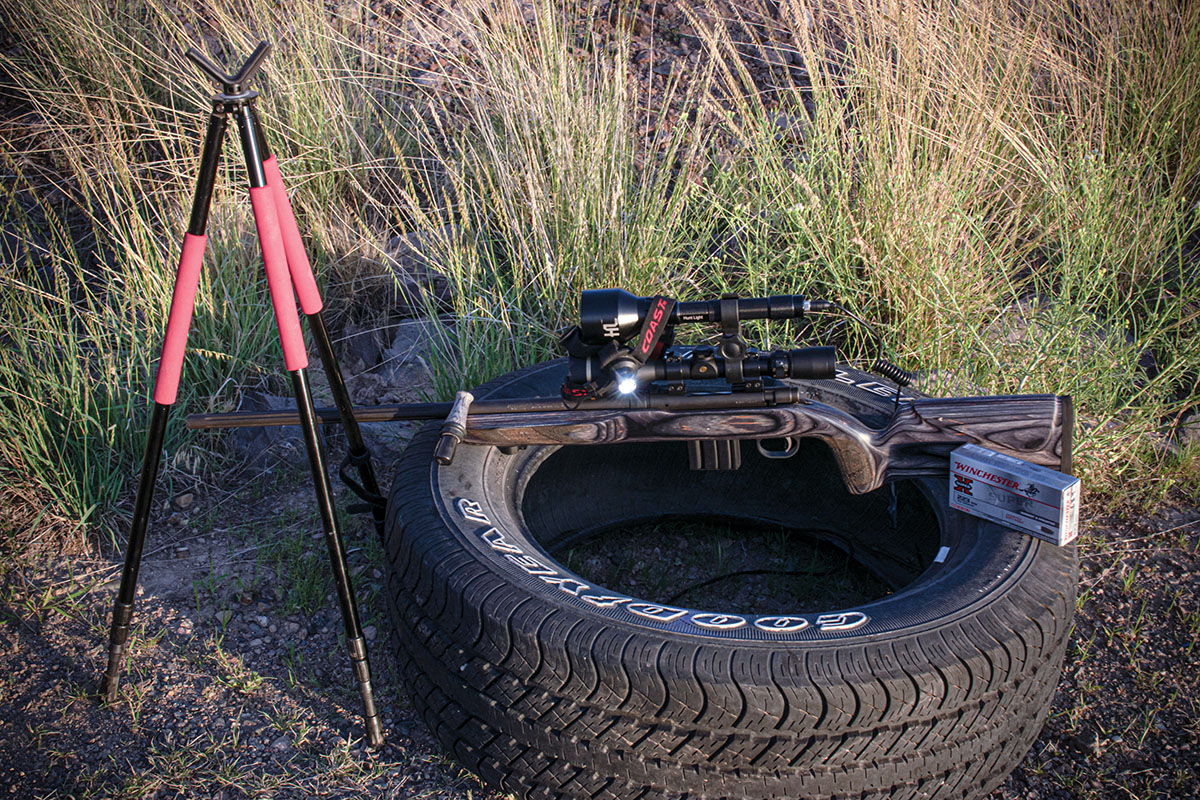
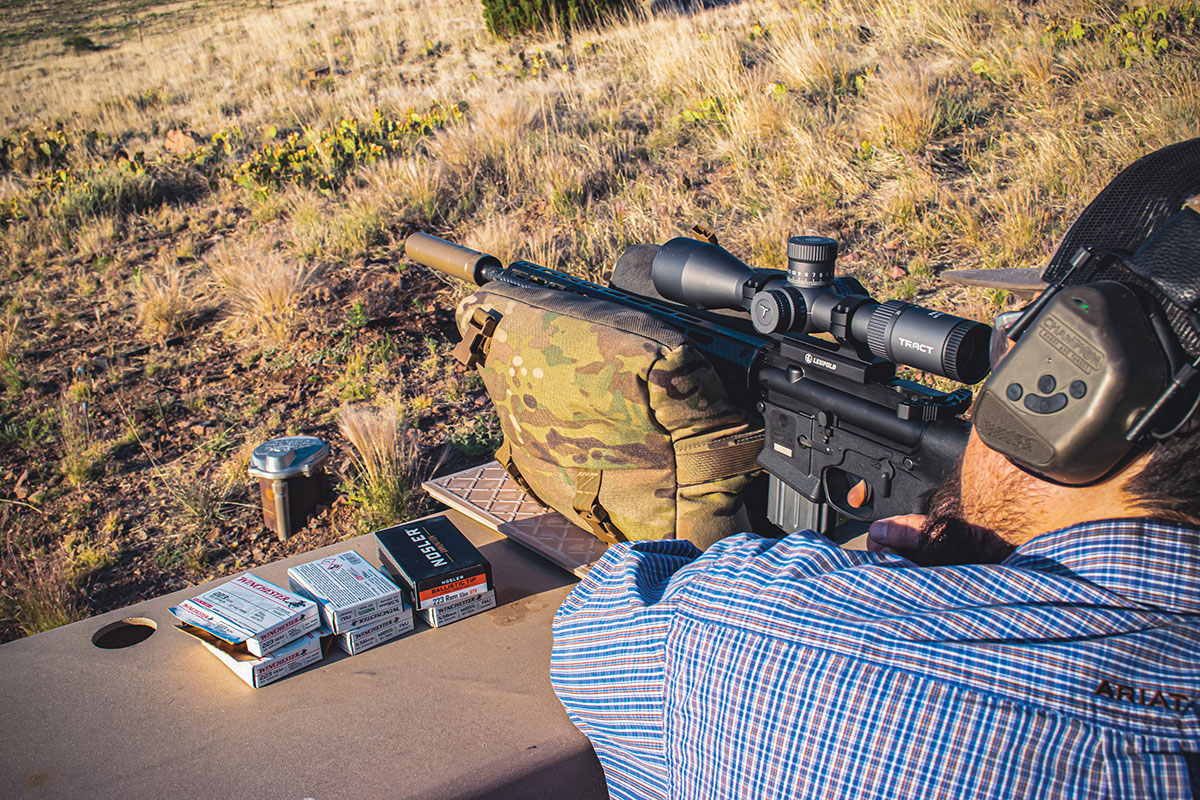
Having two lights makes scanning and shooting much easier and having a buddy or partner on the stand makes it even better, as one light is dedicated to scanning and another light is mounted atop the rifle in line with the scope. This makes positively identifying the animal and taking the shot much easier. However, if only one light is available, I would highly recommend mounting the rifle on a tripod or very sturdy shooting sticks. This makes scanning much easier and when you do positively identify your prey, then making the shot is that much easier.
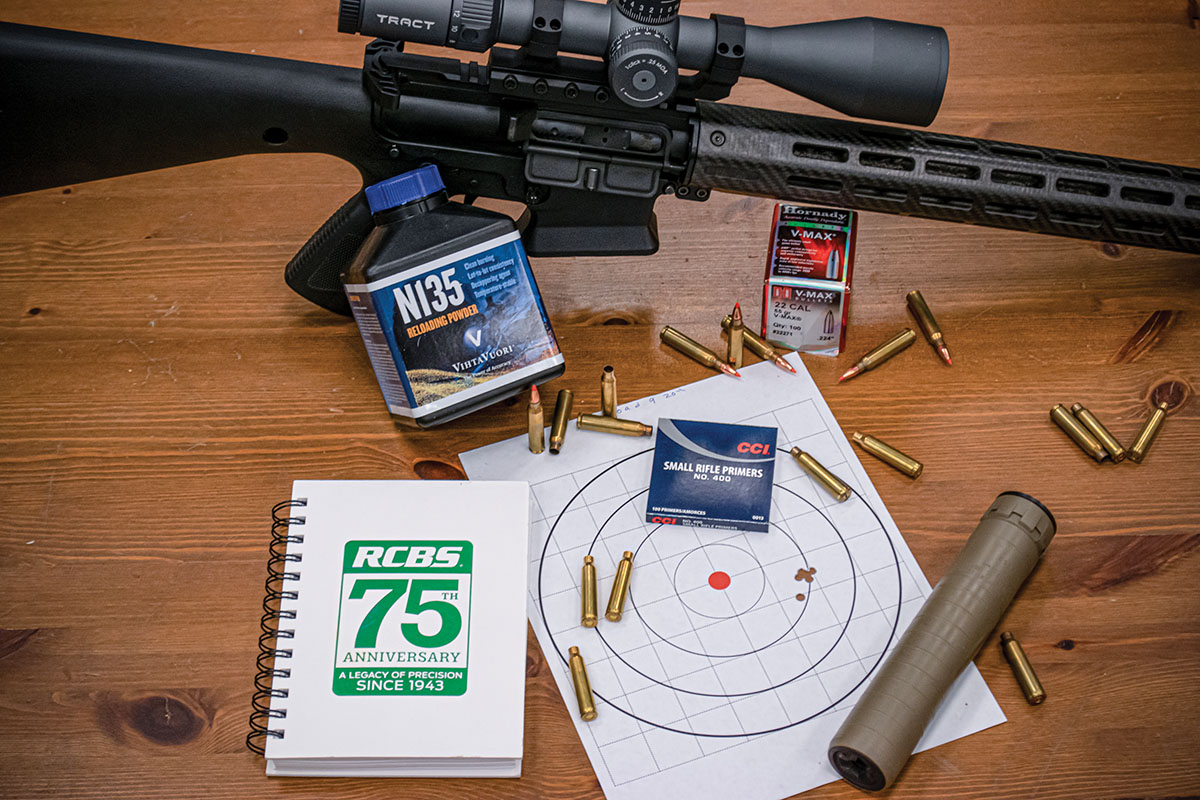
Much of the hunting conducted with this setup was done with bolt-action rifles, chambered in 223 Remington or 5.56 NATO with a bipod or shooting sticks. However, if you are looking to increase the effectiveness and odds of success in the field, I would suggest the next setup.
Mid-Tier Setup
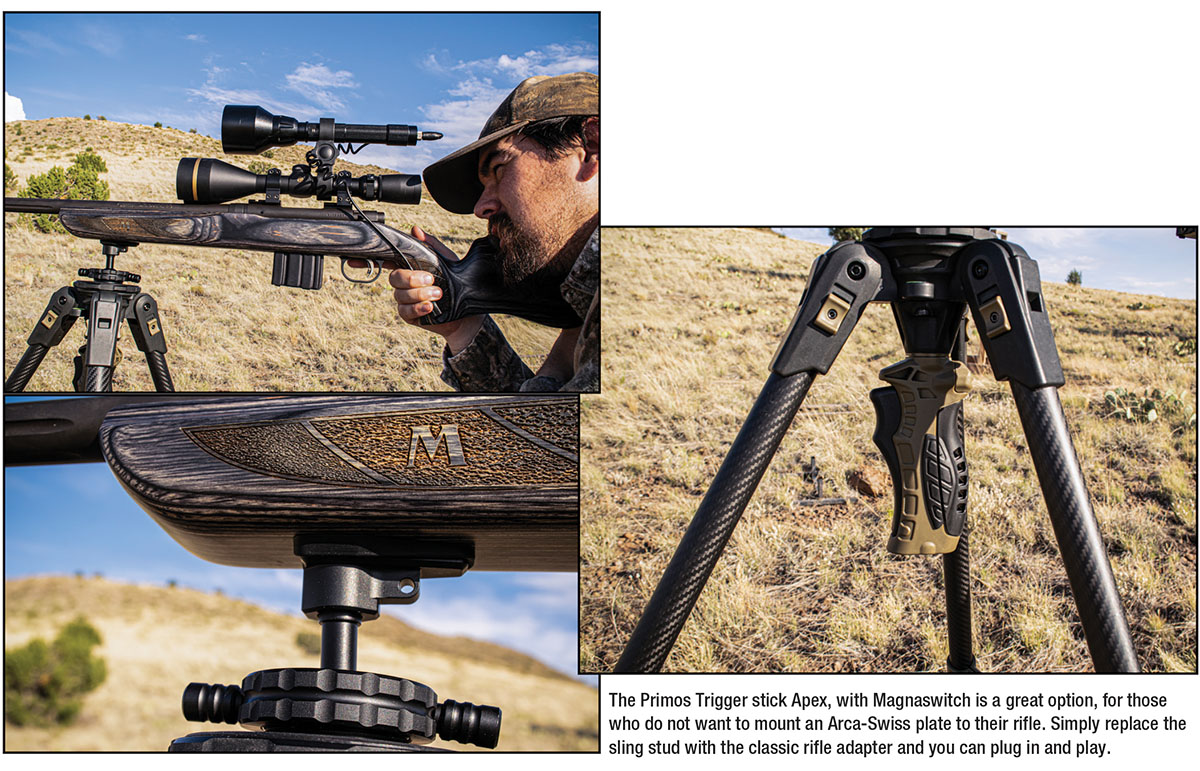
Hunting varmints at night has shown how valuable a tripod can be for nighttime calling sessions. Making a shot in the daytime is not always easy, but making a shot at night is even more difficult. This is especially true on a coyote that is typically moving as it requires practice and patience and above all – repetition to become proficient at it. Using a good tripod is just another piece of gear that makes it a little easier. These days, it is not difficult to have an Arca-Swiss plate added to a rifle stock or the forend of an AR-15. However, if adding such things to your setup seems a little too tactical or gaudy-looking, Primos has a good option with its new Trigger Stick Apex tripod with Magnaswitch. It is as simple as swapping out the sling swivel with the classic rifle adapter, which has a sling swivel stud built in. This setup has been used with good success in the field and also, it is quick and easy to set up. The addition of a stable shooting platform such as a tripod is probably one of the best additions a shooter can add to a budget setup.
Looking back on all the coyote stands I have made at night, I wondered if the light ever gave away my position, a red or green light was used to help minimize the light signature. According to all my research and field experience, coyotes can see the added light even if it’s red. While it may not be startling enough to keep the coyote at a distance, it certainly can cause them to hang up and even spook, which is something I have experienced on numerous occasions. This is especially true if you are using the light a lot and I remember constantly battling my mind about whether the light should be on or off. Trying to time it to where the light would come on with the coyote in range was a constant challenge. All of this is eliminated with the use of thermal, night vision and infrared light.
After one particular stand, alone with a screaming rabbit echoing off the rolling hills, I clicked on my red light and scanned quickly. The first thing I saw was two coyotes both within 25 yards of my Lucky Duck e-call and only about 40 yards from me! In a bit of a panic, my second scope-mounted light was clicked on, but by the time I got crosshairs on the first and closest coyote, as it was already pushing 100 yards at a dead run. A quick adrenaline-filled finger jerked the trigger, the splash of the bullet was seen feet behind the running fluffy pelt. The second coyote was never seen again and may still be running to this day. After that, I decided to save up some money from working horses and purchase some sort of night-vision device.
Over the years, many devices have been tested from first generation traditional night vision that uses an intensifier tube to gather ambient light to third generation military night vision, and more recently, digital night vision. The first night vision device I ever used was a Bushnell Equinox 2x 28mm, a first-generation unit that used a traditional intensifier tube to gather ambient and IR light. This was used to scan to ensure no coyotes ever snuck up on my stand again. While not a very effective unit, it worked decent enough when combined with a good bright IR light.
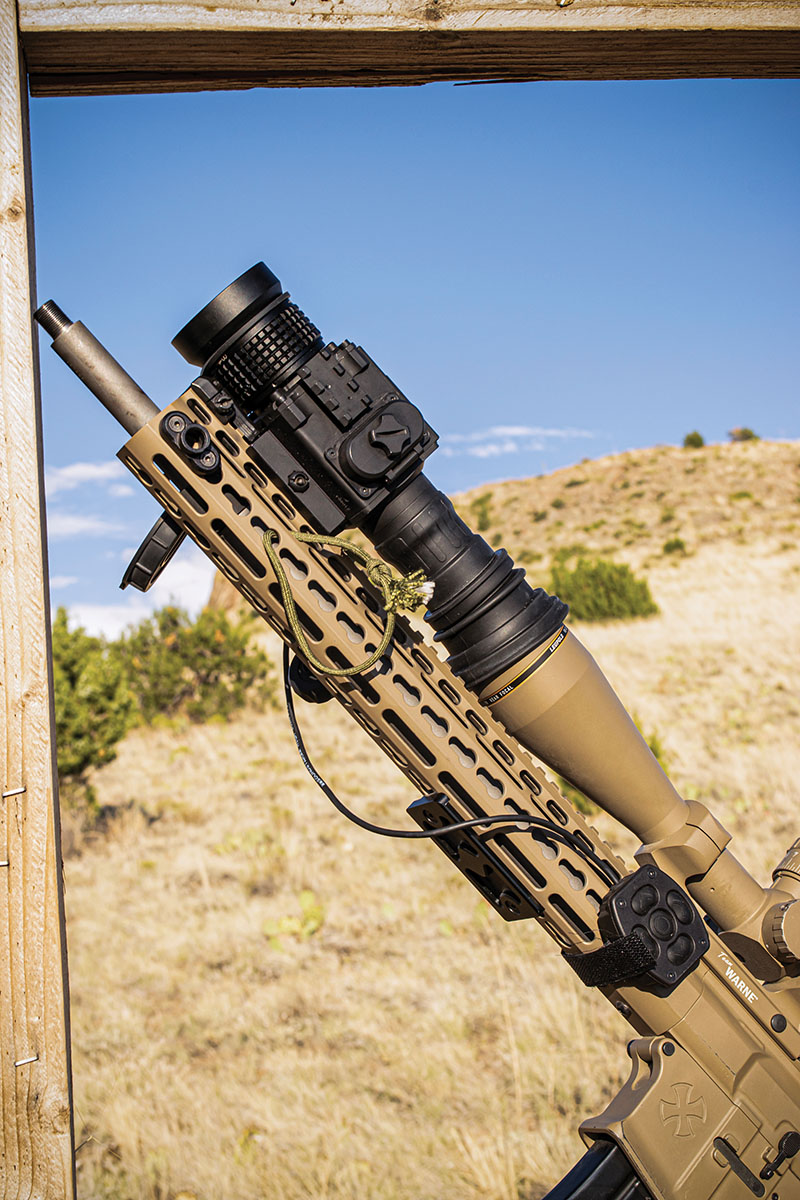
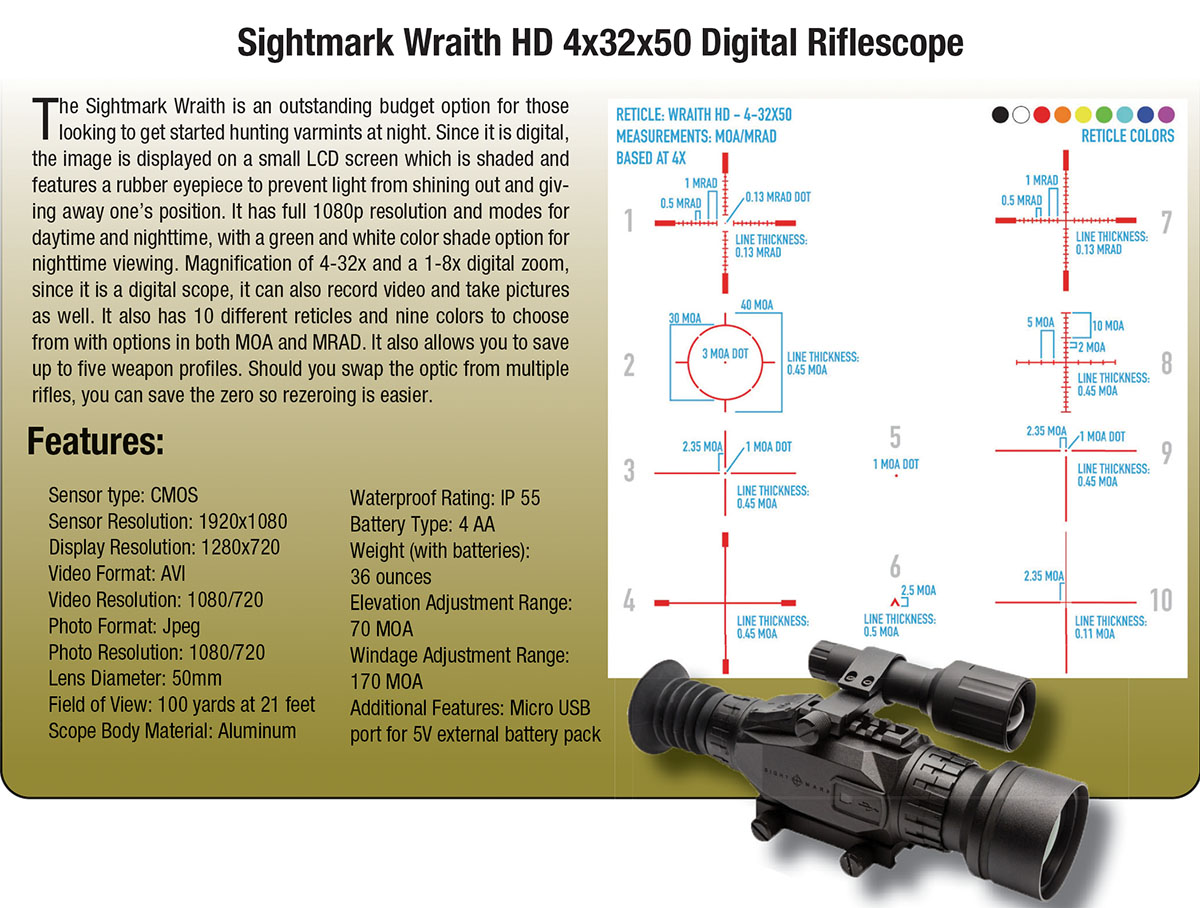
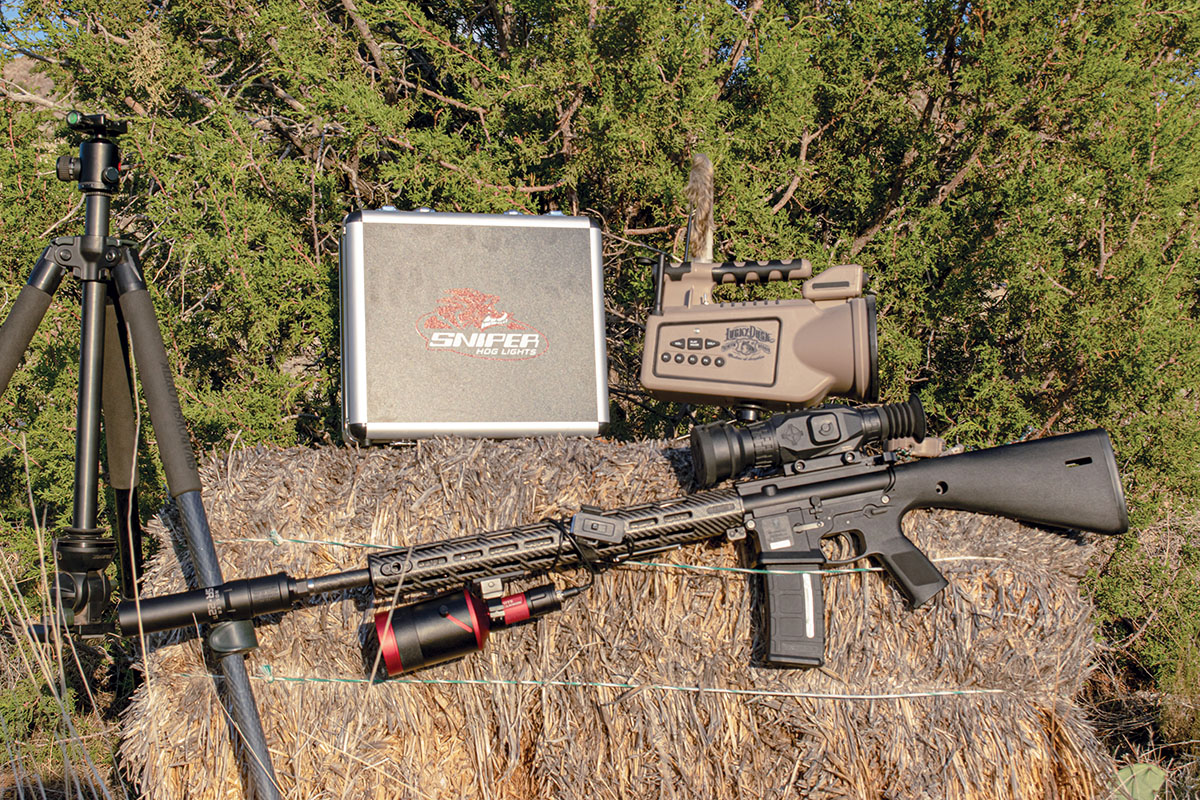
If you are simply looking for a night hunting setup that won’t cost thousands of dollars but is effective and offers the most bang for the buck, then the Sightmark Wraith HD or Wraith 4K can be purchased for less than $500 when paired with a Sniper Hog Lights Coyote Cannon and you have a night-vision scope that attaches to your rifle ready to zero and hit the field. This makes for a very cost-effective and efficient system for a grand total of about $850 at the time of this writing. That price is unheard of for night vision and the best part of this system is the effective range. At 500 yards, I have positively identified coyotes. While I can see much further than 500 yards with it, I would say I can see past 1,000 yards with this combination. However, being able to identify what you are looking at depends on many factors and conditions. One nice thing about night vision in combination with an IR light is that when the light hits a coyote’s eyes, they will glow quite well through the night-vision scope. This makes them a little bit easier to spot. The best part of it all is that coyotes cannot see IR light, so it levels the playing field in terms of vision.
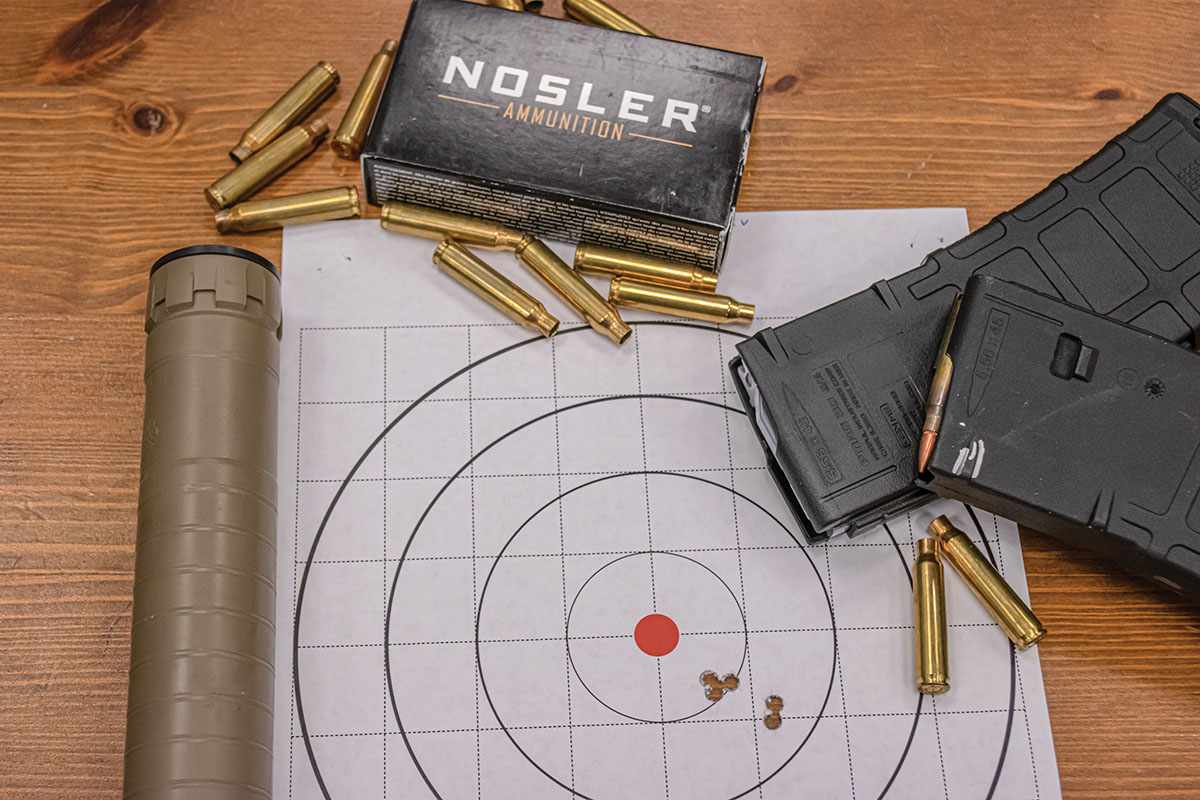
Hunting with this setup has been wildly successful, so long as you are diligent in your scanning the chances of something sneaking in on you is essentially zero. It has been wonderful in culling nocturnal coyotes that prey on sheep and cattle and it also has been a great setup for a second shooter as well. It is easy to use the Sightmark Wraith as it has only five buttons and a simple menu system. Most folks I take out can pick it up in a matter of minutes along with a brief explanation. Another advantage to digital night vision compared to traditional night vision is the fact that it can be zeroed during the day. Since it does not use an intensifier tube, there are no worries about burning up the tube in the bright light of day. Zeroing the optic is a straightforward process. Shoot a group and adjust the crosshair from the group to the point of aim and you are zeroed. It is a little different than the clicks of a riflescope, but it is quite easy to accomplish.
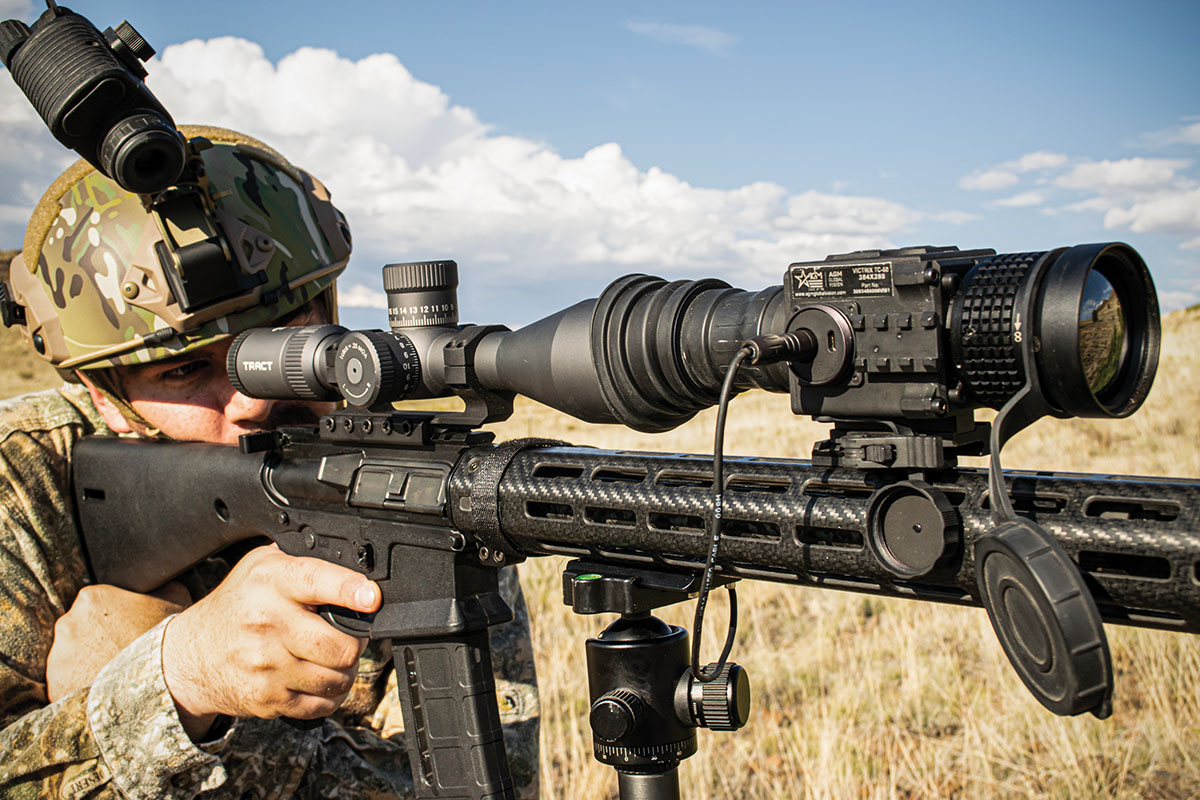
The Deluxe Setup
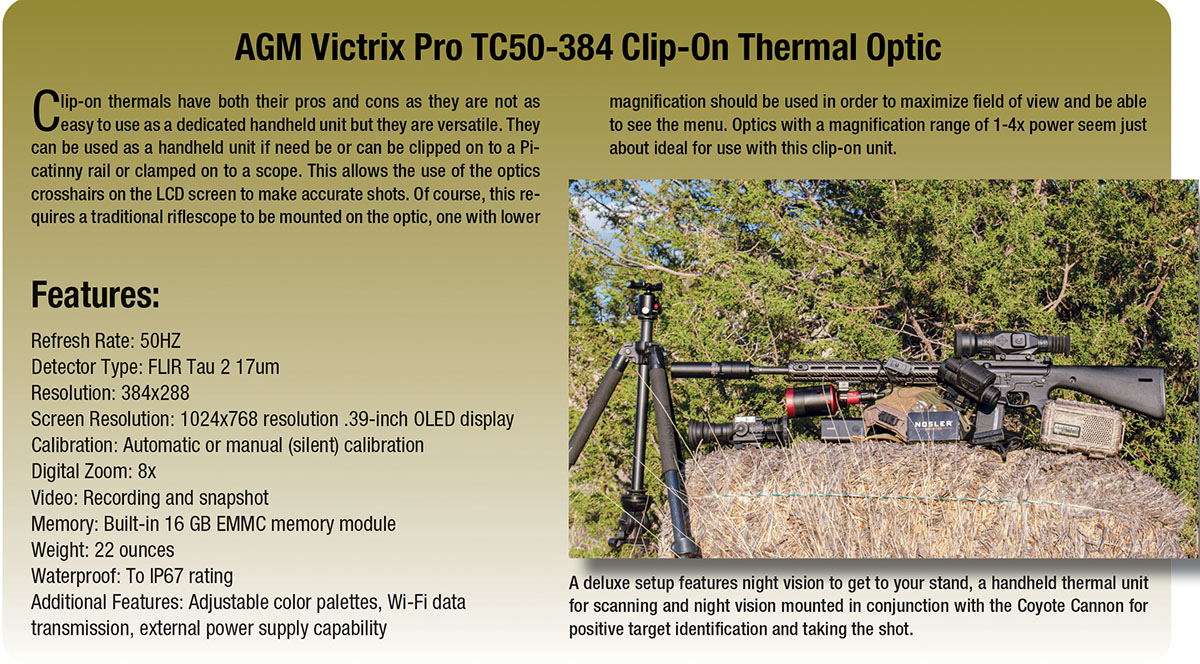
When paired with night vision to sneak into your stand and get set up, the use of thermal ensures that you don’t miss an opportunity on an animal. Thermal essentially detects temperature changes and displays them on a small LCD screen built into the unit. This means that rocks will retain heat better than the ground and foliage, and as a result, any warm-blooded creature will also stand out against the cool night air or dark foliage. Under snowy conditions thermal optics work extremely well as the environment provides a stark contrast, which will make most critters stand out. Thermal makes detecting animals at night easier and no doubt contributes to the success of a hunt. However, a good unit is also more expensive than most night vision, thus making it less of a budget option. However, for those who are serious the benefits of thermal outweigh the cost.
In closing, other than the laws of the state, there is no reason to not consider hunting varmints at night. This is especially true when it comes to predators because there are plenty of great options out there that will fit just about any budget. Much of this gear can be mounted to anything with a Picatinny rail making it easy to install it on your favorite rifle. The final word of wisdom is to do your research and due diligence. Find out what will work for your situation and for your budget. Despite being a lengthy article, this is just a high-level overview to get you started. It must be tempered by research and experience to become effective in the field.